
Van Conversion Plumbing Details
VAN BUILD PLUMBING DETAILS
If you’re looking for details on our Sprinter Van’s plumbing, look no further. We got ya covered! As you probably already know, we opted for a “wet” bathroom (meaning the toilet is in the shower area so it will get wet). We wanted to save on space, so we cantilevered the toilet over the shower pan using steel studs.
You can read more about our Bathroom details here.
On to the plumbing details…
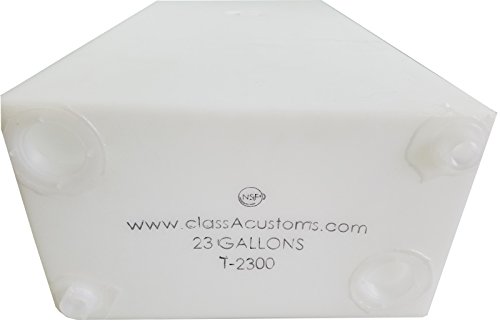
WATER TANKS
We have two separate water tanks, one just for the shower, and one just for the sink. The reason we did this is so we did not have to do any plumbing runs across the underside of the van. We wanted to keep everything inside the van, so we opted for two tanks and two separate systems.
For the shower we have this a 23 gallon water tank that is stored in the bench in the back on the drivers side.
For the sink we have this 13 gallon water tank that is stored in the bench in the back on the passengers side.

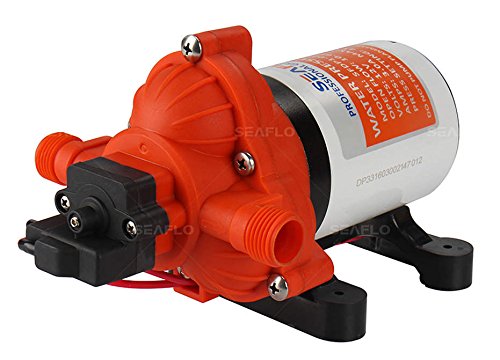
WATER PUMPS
Since we have two different tanks, we also have two pumps. We opted for a lower gallon per minute flow for the sink and a high gallon per minute flow for the shower.
For the shower: Seaflo 12v 2.8 GPM 45 PSI Water Pressure Pump
For the sink: Seaflo Water Pressure Pump 12V DC 1.2 GPM

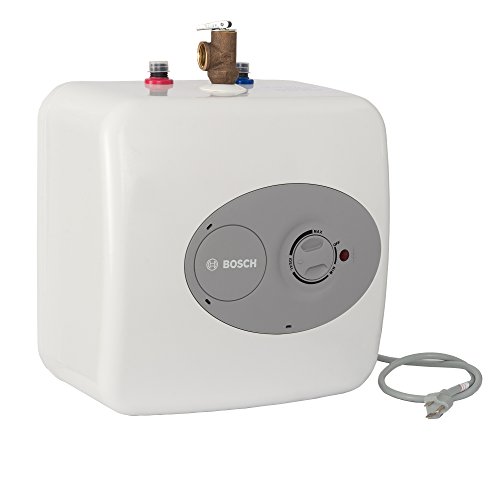
HOT WATER HEATER
Having a shower with hot water was a must for us! This 2.5 gallon on demand hot water heater works great with our 300 ah lithium Battle Born Battery bank and 3000 watt inverter charger.

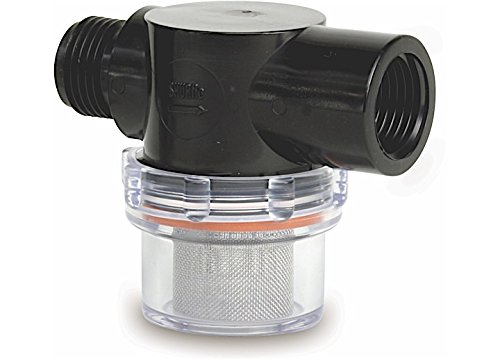
SEDIMENT FILTER & FILTER
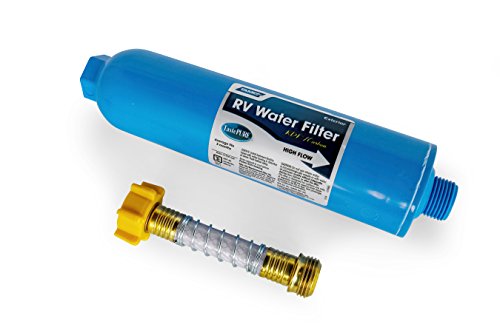
You’ll want to be sure to have some sort of sediment filter in line before hitting the water pump so that nothing can get stuck in your pump and potentially damage it.
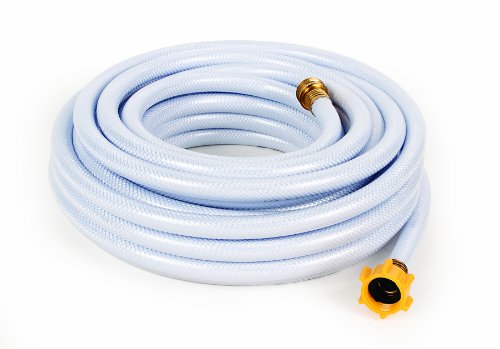
Also, make sure to have something to filter your water because you never know what the water quality is when you’re filling up. You will want a drinking safe hose to use to fill your tanks as well as a filter you can attach directly to your hose (linked below).
WATER LINES
We used 1/2" Interior Diameter (ID) Nylon Braided Hose for all cold water lines. You can make the connections using 1/2" ID Barbed fittings with whatever size threaded fitting you need on the other end. Then simply put a clamp over the hose where the barb inserts into the hose.
For the hot water lines we used 1/2" ID PEX hot water lines. You will need to use PEX fittings to make your joints. It is not very flexible so I found the elbow joints very helpful when making the connection from my hot water heater to the shower.
GENERAL TIPS
I found it helpful to diagram out the entire plumbing system and listing off every fitting, hose, valve, t-joint etc... that I would need. Once you have this list completed you are ready to order your fittings off amazon or make a trip to your local Home Depot.