
VAN LIFE CABINETRY & PAINTING TIPS
When it comes to your van conversion, one of the most important aspects is your cabinetry! Cabinetry done wrong can ruin the way your van build functions and looks, so it’s something you want to get right the first time…
MATERIALS FOR VAN LIFE CABINETS
The main materials we use are:
baltic birch plywood
poplar
For lower cabinets we use:
1/2” baltic birch plywood for the cabinet box
1x3 poplar for the face frame (sometimes we rip the 1x3 poplar into smaller pieces for the face frame - it really varies from cabinet to cabinet)
3/4” baltic birch for fronts if they are “flat” fronts. If we are doing shaker style, we use 1x3 poplar for the frame with 1/4” baltic birch panel inside.
For upper cabinets we use:
3/4” baltic birch plywood for the cabinet box
1x3 poplar for the face frame (sometimes we rip the 1x3 poplar into smaller pieces on our table saw for the face frame - it really varies from cabinet to cabinet)
3/4” baltic birch for fronts if they are “flat” fronts. If we are doing shaker style, we use 1x3 poplar for the frame with 1/4” baltic birch panel inside.
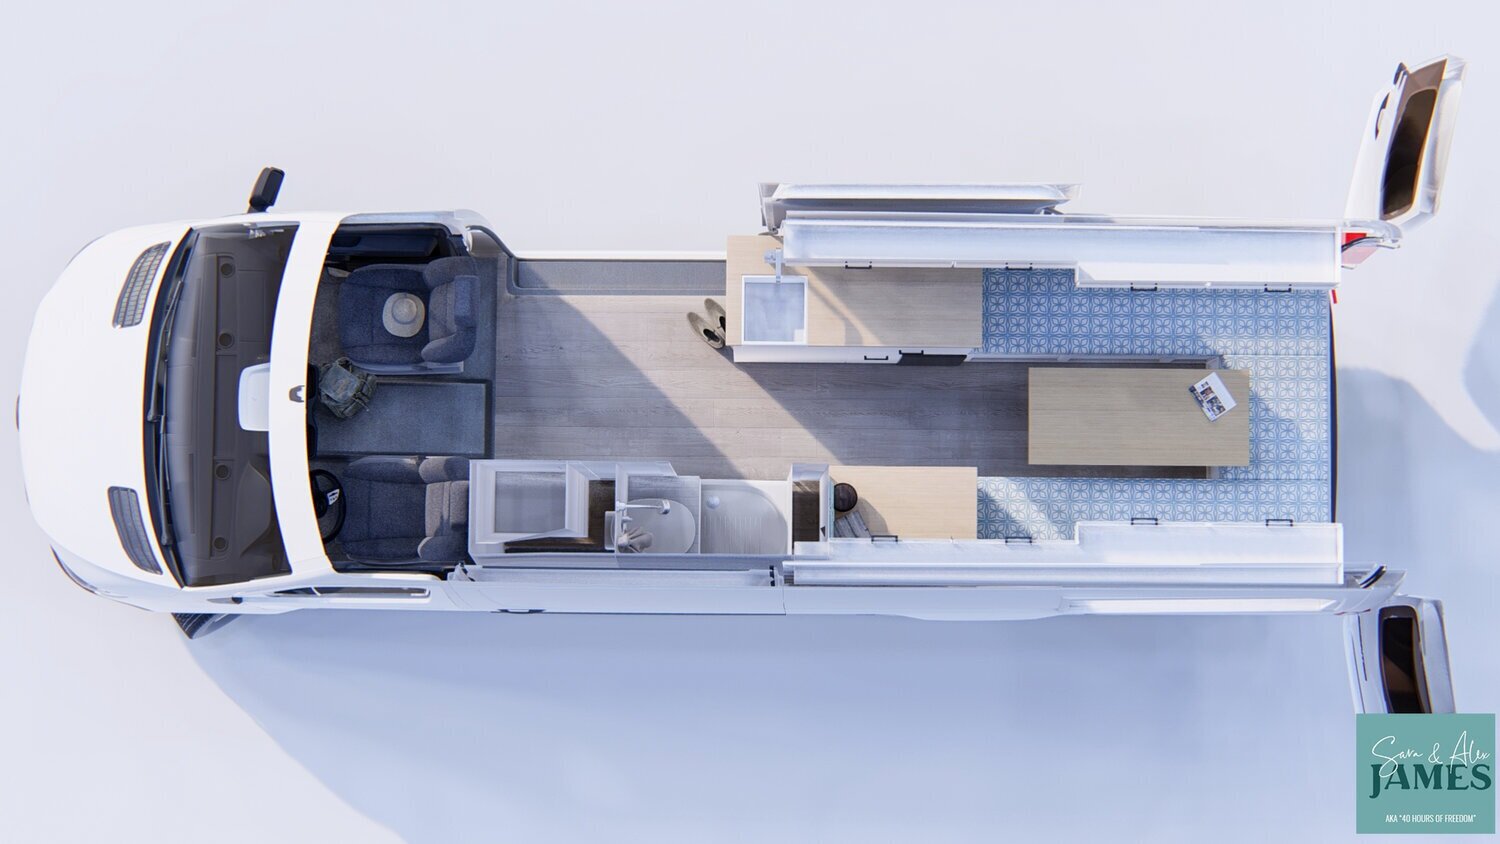
To give you an idea of how we design our cabinets, check out our 3D rendering of our kitchen cabinet. One important thing to have before you design your kitchen is the fridge, sink, cooktop, etc you will be installing. You’ll want to have these on hand so you can ensure you build your kitchen cabinet to fit everything inside.


LOOKING FOR HELP ON YOUR VAN BUILD?
CHECK OUT OUR VAN LAYOUT GUIDE!
You’ll get access to our private community where you can connect with us and hundreds of others building their own DIY van. You’ll also get over 6 different floor plans for van conversions.
PAINTING TIPS
Now when it comes to painting, the key is in the prep, materials and technique!
First things first, you’ll want to give your plywood, poplar and any other cabinet materials a good sand. Work your way up to at least a 220 grit sandpaper.
After you sand, you’ll want to brush/wipe off your pieces of wood to remove the residual sawdust you created when sanding. Don’t skimp on this part! Wipe, and wipe and wipe again until you remove all the dust. I find brushing it off first, then using a tack cloth works best.
Next up, you’ll want to invest in high quality rollers and foam brushes. If you’re using a cabinetry paint, don’t use a traditional paint brush or you’ll see brush marks everywhere! Foam is the way to go for a smooth, clean finish.
You’ll want to prime your bare wood before you paint. After priming your cabinets, do another quick sand with 220 grit or higher sandpaper.
Then get to painting! Watch the video below for more step-by-step tips…
Have fun, and enjoy the process.